 rumaruma
How to Maximise a Small Condo Layout in Malaysia: 12 Ideas That Actually Add Space
You can’t add square feet to a 750 sq ft condo, but you can stop losing them to swing doors, deep cabinets and furniture that’s one size too big.
On this page
You’ve just got the keys. You walk from the front door to the balcony in about eight steps, and you’re already wondering where the sofa, the dining table, the work desk and three years of Shopee parcels are supposed to go. The developer’s brochure showed a spacious living room. It used a 1.6m sofa and no dining chairs.
Most small condos in Malaysia aren’t short of space so much as badly divided. A door that swings into the only free corner, a wardrobe built 650mm deep for no reason, or a dry kitchen walled off from the only window can cost you more usable floor than an extra 50 sq ft would add. These small condo layout ideas deal with those problems first, before you spend anything on décor.
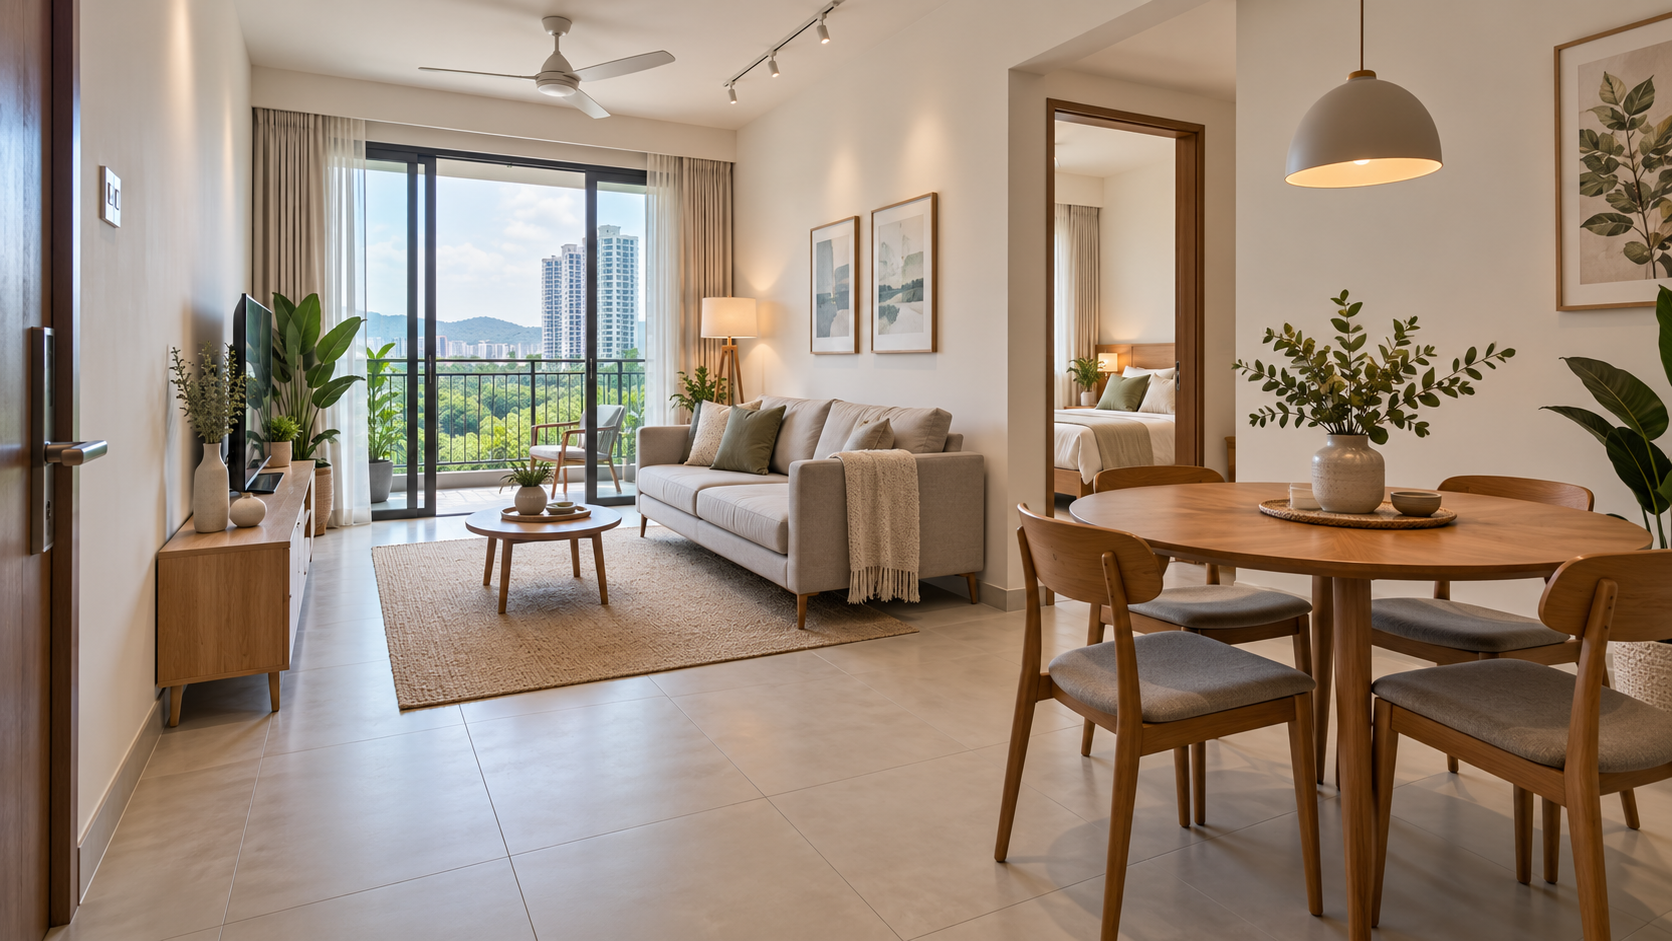
Start With the Floor Plan, Not the Furniture
Before you buy anything, get the unit’s floor plan to scale and draw your furniture on it at real size. A 2.5-seater sofa is around 1.8–2m wide, and a four-seater dining table needs about 2.2m by 2.2m once the chairs are pulled out. Those two items alone fill most living-dining areas in a typical 2-bedroom unit.
If you’ve never worked with a plan before, our guide on how to read a renovation floor plan covers the symbols, measurements and door swings to look for. Then walk the empty unit with a measuring tape and mark where the window light falls in the morning and afternoon, because the best layout usually follows it.
Small Condo Layout Ideas for the Living and Dining Area
1. Keep the living-dining area as one open space
Your living and dining area is probably one long room with a window or balcony door at one end. Resist dividing it with a full-height cabinet or a solid partition. Every solid divider cuts off daylight from the half of the room furthest from the window, and that half then needs lights on at 3pm.
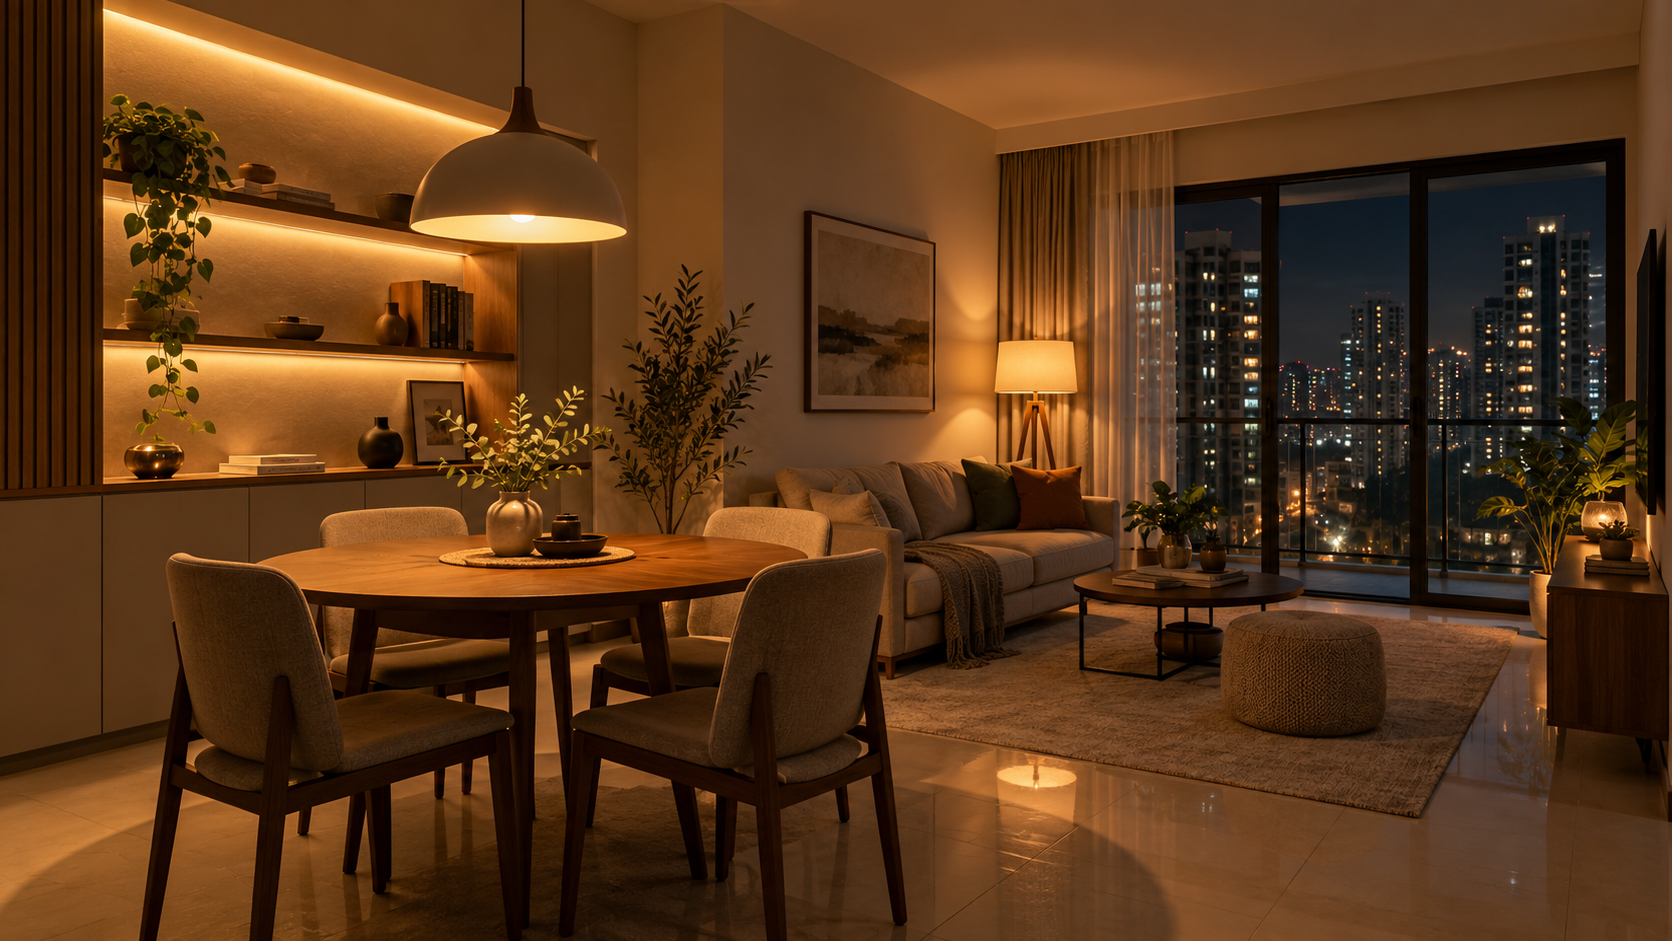
Zone it instead with what you already need: a rug under the sofa, a pendant light over the dining table, and the back of the sofa facing the dining area. Each zone reads as its own space while the light and airflow from the balcony door reach the whole room. In Malaysian heat, that cross-breeze matters as much as the floor area.
2. Size furniture for the room, not the showroom
Showroom furniture is displayed in halls with 4m ceilings. In a condo, a deep 1m sofa or a chunky armchair eats the walkway. Look for:
- Sofas around 850–900mm deep rather than the 1m-plus lounge styles, so you keep a proper walkway in front of the TV.
- Furniture on legs, where you can see the floor underneath. Showing more of the floor makes the room look bigger, and it makes mopping easier during the dusty months.
- A round or oval dining table in tight corners. There are no corners to bump into, and you can squeeze in an extra chair for Raya or CNY visitors.
- An extendable table if you host a few times a year but eat as two or three most nights.
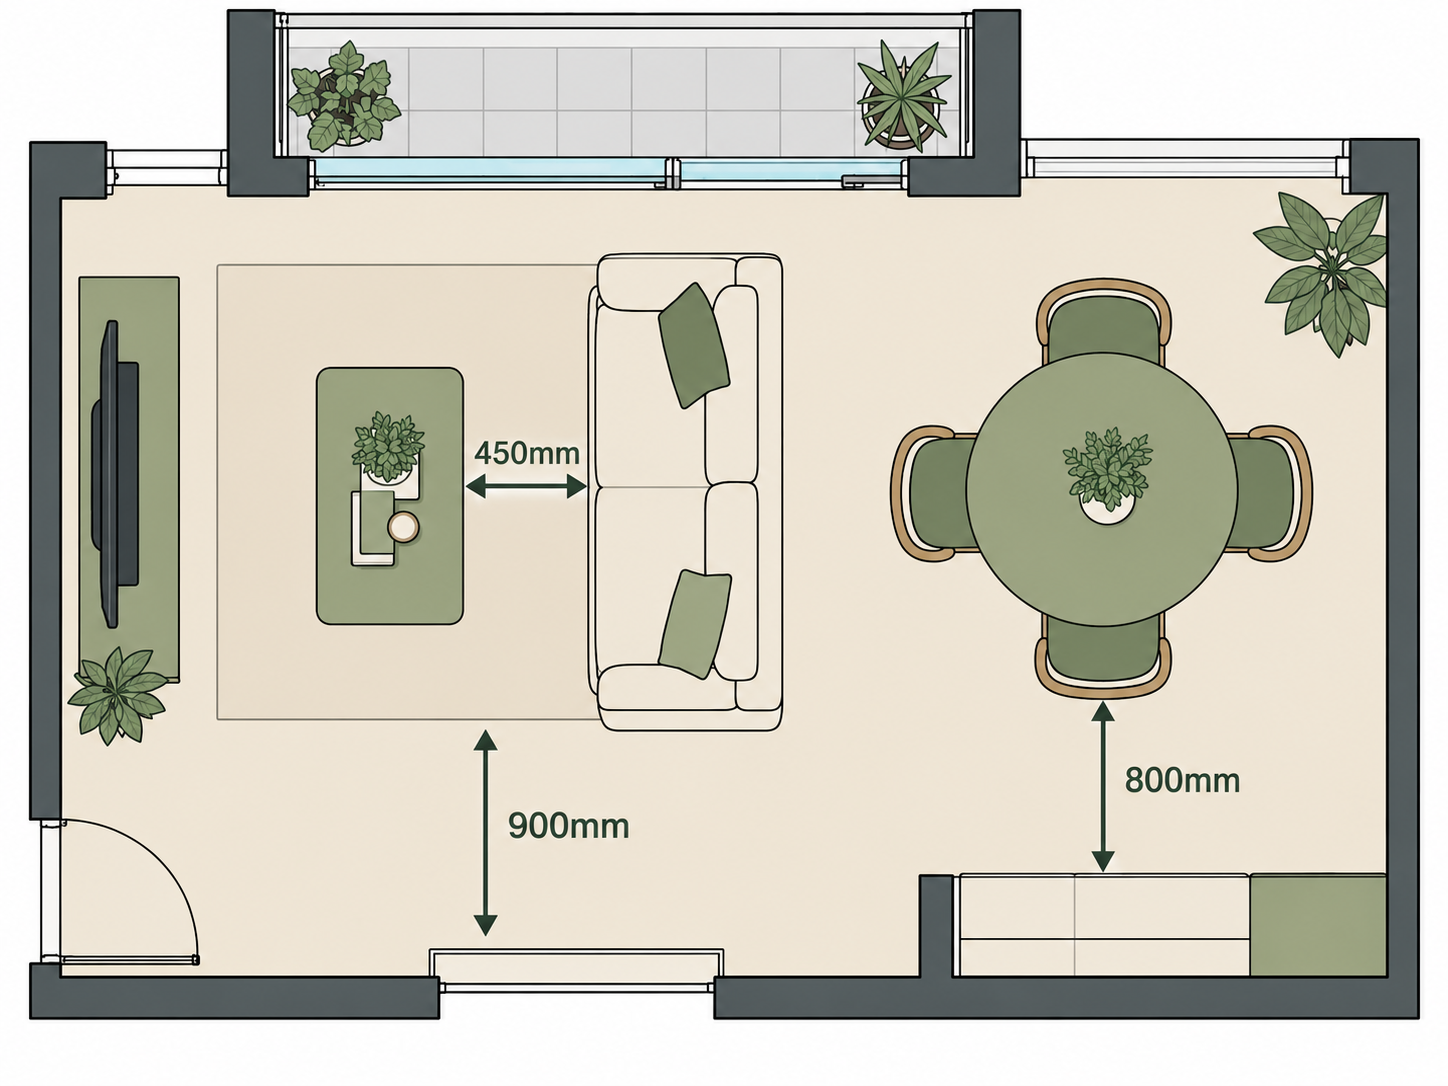
3. Mind the clearances
Tight layouts fail at the gaps between furniture, not at the furniture itself. Use these as your minimums when you plan:
| Space | Comfortable minimum |
|---|---|
| Main walkway (door to balcony, living to kitchen) | 900mm |
| Secondary walkway (beside a bed, behind a sofa) | 600mm |
| Sofa edge to coffee table | 400–450mm |
| Dining table edge to wall (chair pulled out and sat on) | 750–900mm |
| Kitchen aisle between counters | 1,000–1,200mm |
| In front of a wardrobe with swing doors | 900mm |
If a piece of furniture breaks one of these, it’s the wrong size for that spot, however good it looked online.
4. Pull light deeper with mirrors and a single floor finish
A large mirror on the wall beside, or across from, the balcony door bounces daylight back into the room. Avoid placing it so it faces straight into the afternoon sun, or it will glare.
Run one floor finish through the living, dining and corridor too. Changing from tiles to vinyl at every doorway breaks the space into small pieces. One continuous floor makes it read as a single room. For a condo, a humidity-safe option such as tiles or SPC handles the damp monsoon months and mopping without lifting at the joints.
Rethink the Walls You Can Change
5. Open the dry kitchen (if you don’t cook heavy)
Many newer condos come with a small enclosed kitchen beside the dining area. Hacking the non-structural wall between them is one of the biggest layout upgrades you can make. The dining area gains the kitchen’s window light, and you can move from cooking to serving without getting in each other’s way.
The honest caveat: if you fry ikan bilis or cook curry several times a week, an open kitchen sends the smell and oil straight into your sofa and curtains. In that case keep a door, or go for the next idea instead. Wall hacking for demolition alone is quoted at roughly RM3–20 per sq ft. Making good the edges, re-tiling the floor where the wall stood and debris disposal are extra. One homeowner reported about RM4,600 for hacking two 100 sq ft non-structural walls, including touch-ups and disposal.
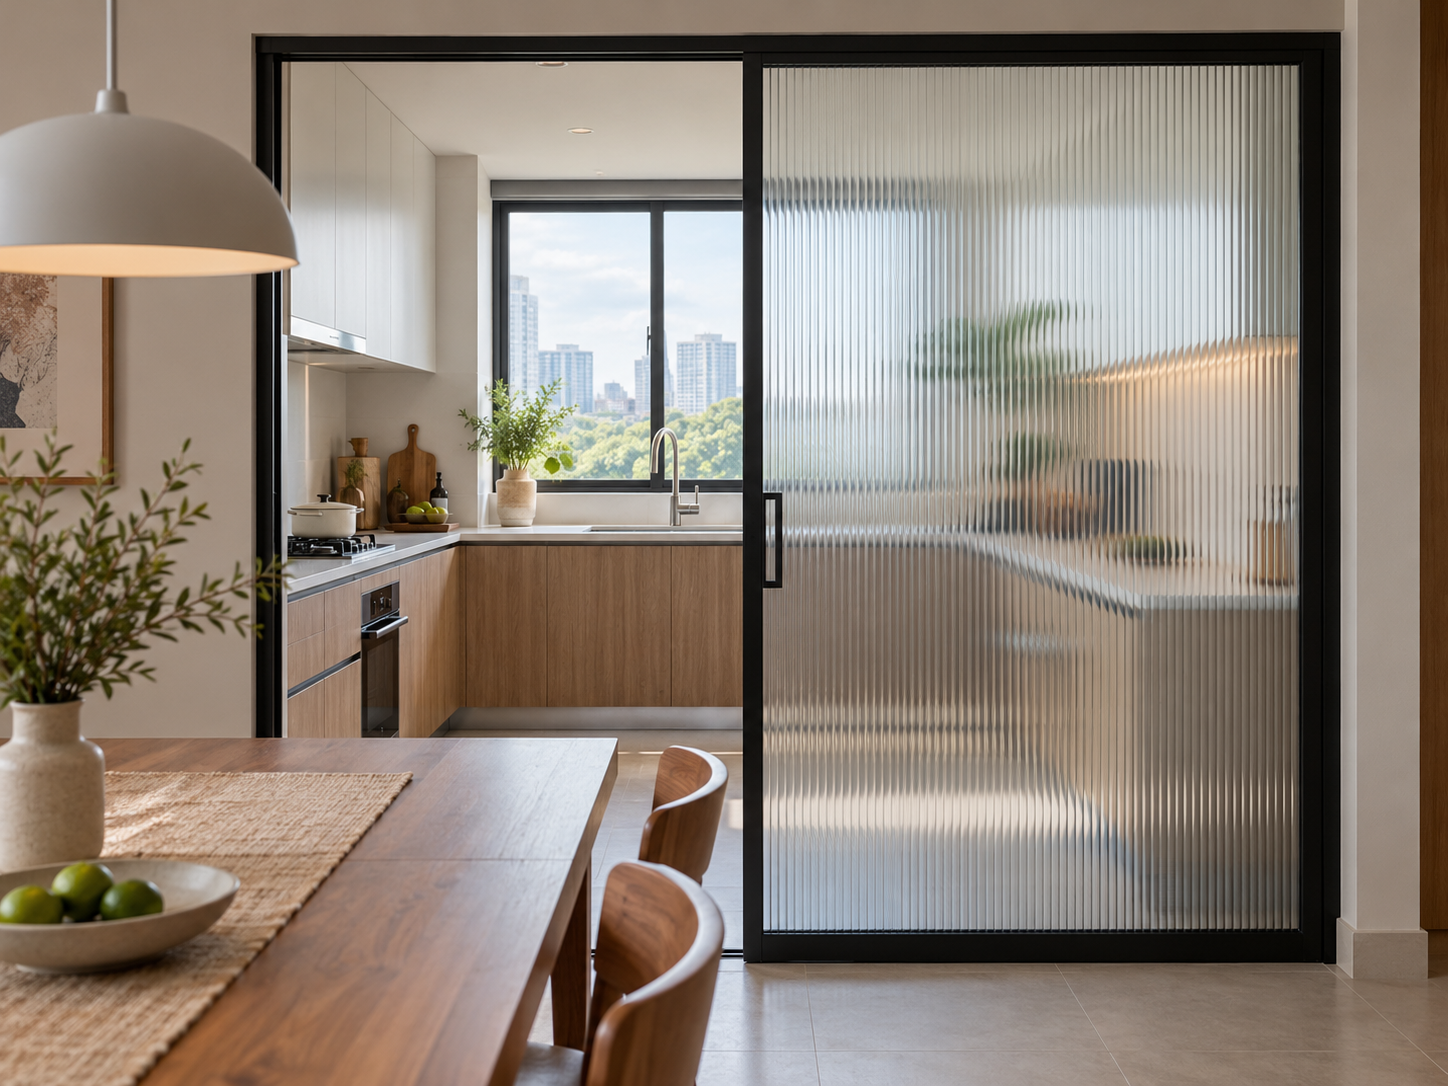
6. Swap solid walls for glass sliding doors
If you need to close a room some of the time, such as the kitchen while cooking or a study during calls, a glass sliding door gives you the separation without losing the light. Fluted or frosted glass hides kitchen clutter, while clear glass keeps the view through to the window.
As a reference, a basic single-track aluminium glass sliding door costs about RM800–2,000 installed. A double-track tempered glass unit costs about RM2,500–5,000. Thicker glass, slim black frames and ceiling-hung tracks push the price up.
7. Replace swing doors with sliding or pocket doors
A standard 800–900mm swing door needs a quarter-circle of clear floor to open, which is space you can’t put furniture in. In a small bedroom or a bathroom off the corridor, that arc is often the exact spot where a bedside table or laundry basket should go.
A sliding barn-style door on a wall track takes no floor space, as long as there’s a clear stretch of wall beside the opening for it to slide along. A pocket door, which slides into the wall, is even neater but needs a wider stud wall built around it, so plan it at the design stage, not after the plasterer has left.
Build Storage Up, Not Out
8. Take built-ins to the ceiling
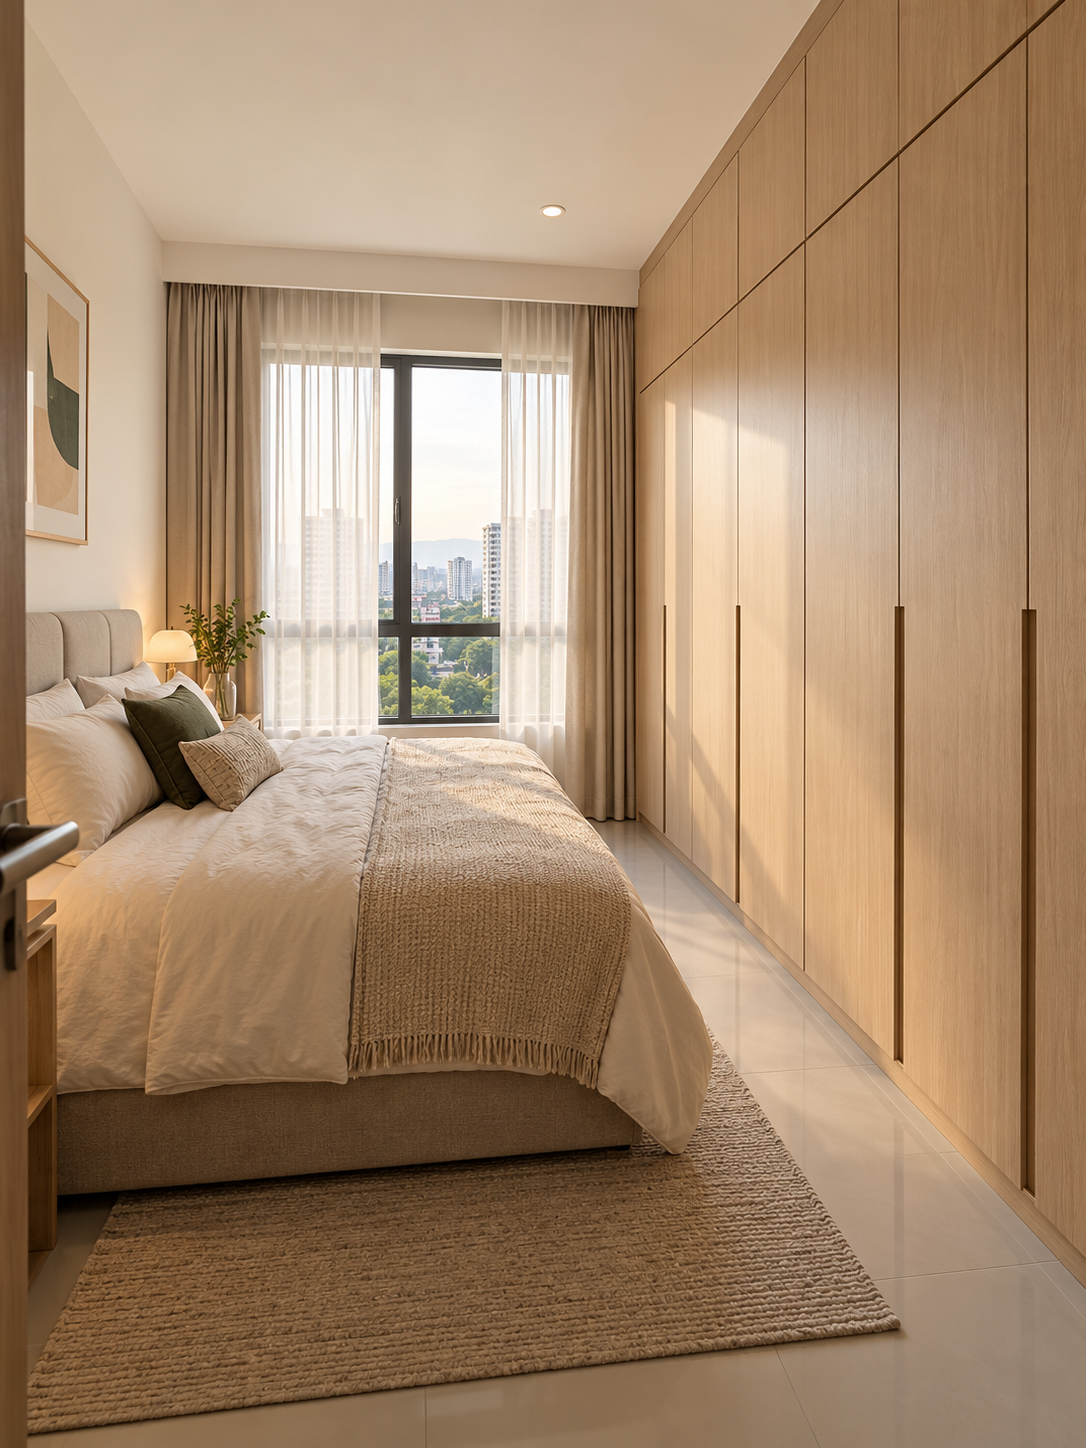
The space between the top of a standard wardrobe and the ceiling is usually just a dust shelf. Running built-ins the full height, with a top section for luggage, festive decorations and spare bedding, gives you extra storage without taking up any more floor. A full-height carcass also looks deliberate, where a short wardrobe looks like a piece of furniture placed in the room.
Built-in wardrobes are quoted per foot run. Melamine boards cost roughly RM250–400 per foot run, and moisture-resistant (MR) plywood about RM350–600. In Malaysian humidity, MR plywood is worth it for any wardrobe on an exterior wall or near the bathroom.
9. Build storage only as deep as it needs to be
Deep cabinets waste more floor than people expect. A shoe cabinet only needs about 300–350mm, not the 450–500mm many carpenters default to. Our shoe cabinet depth guide explains why. Bookshelves need about 300mm, and a TV console 350–400mm.
Every 150mm you take off a cabinet’s depth goes back into the walkway in front of it. In a 1.1m-wide corridor, that’s the difference between brushing past the cabinet and walking past it comfortably.
10. Hide storage inside furniture you already need
Before you add another cabinet, use the furniture you’re already buying:
- Storage bed with hydraulic lift-up base, for bulky items like spare mattresses, suitcases and baby gear.
- Bench seating along the dining wall, with drawers or lift-up seats, instead of two of the four dining chairs.
- Platform or raised floor in a study or kids’ room, with pull-out drawers underneath.
- Wall bed that folds up into a cabinet, so a study can still host guests. Check the wall can take the fixings, and budget for a supplier who installs it rather than a marketplace import.
If you’d rather keep the look minimal, our Muji-style minimalism guide shows how to plan storage first so the rooms stay clear.
Make Every Room Work Harder
11. Turn the small third bedroom into a flexible room
In many 3-bedroom condos, the third room is about 80–100 sq ft. That’s too small for a proper bedroom, but it works well as a study, walk-in wardrobe, or guest room with a wall bed or sofa bed. Decide what it’s for before carpentry starts, because a study needs data and power points at desk height and a wardrobe room needs ventilation so clothes don’t grow mould in the monsoon months. If the study will have a standing desk, add a lower power point too, because the desk moves up and down.
A glass or fluted-glass door on this room (see idea 6) lets it borrow light from the corridor when it’s closed.
12. Light every zone separately
A single ceiling light in the middle of the living-dining area flattens the whole space. In a small condo, separate lighting for each zone does the work walls would otherwise do:
- Warm pendants over the dining table to mark it as its own area.
- Cove or LED strip lighting above the built-ins, so the ceiling looks higher.
- Wall lights or a floor lamp by the sofa for the evening, so you’re not relying on the main downlights.
Put each zone on its own switch. At night, a softly lit dining corner and a dim sofa corner make the room feel calm, and the corners you’re not using fade into the background.
What Your JMB Will (and Won’t) Let You Change
Condo layouts have limits that landed homes don’t. Every change goes through your JMB or MC first, and some can’t be approved at all. Check these before you finalise the plan:
- Structural walls, columns and beams stay. Only non-structural brick or drywall can be hacked, and many JMBs want an engineer’s confirmation or the original building plans before they approve hacking.
- Balcony enclosures are often refused because they change the building façade and can break fire and ventilation rules. Check the house rules before you plan a balcony study.
- Wet areas like the bathroom and the kitchen sink usually stay in place, because moving drainage between floors in a condo is rarely possible.
- Renovation deposit of roughly RM500–5,000 is held by the JMB or MC until the works are inspected after completion.
For the full picture of how approvals differ, see our guide to condo vs landed renovation rules.
Costs at a Glance
| Layout change | Reference cost (RM) |
|---|---|
| Hacking a non-structural wall (demolition only) | RM3–20 per sq ft |
| Glass sliding door, basic single-track | RM800–2,000 installed |
| Glass sliding door, double-track tempered glass | RM2,500–5,000 installed |
| Built-in wardrobe, melamine board | RM250–400 per foot run |
| Built-in wardrobe, MR plywood | RM350–600 per foot run |
| JMB/MC renovation deposit (refundable) | RM500–5,000 |
These prices are for reference only. Your quotes will vary with your contractor, location, materials, the size and condition of your unit, debris disposal rules and your building’s access restrictions. Get at least two itemised quotations before you commit.
Before You Finalise Your Layout
Run through this list before you sign off the drawings with your ID or contractor:
- Furniture drawn at real size on a to-scale floor plan
- Every main walkway at least 900mm wide
- Door swings checked against furniture, or swapped for sliding doors
- Walls to be hacked confirmed non-structural, with JMB/MC approval in hand
- Built-in depths specified on the drawings (not left to the carpenter)
- Power, data and lighting points marked for each zone, with separate switches
- The flexible room’s use decided before carpentry starts
- Daylight path from the window kept clear of full-height dividers
When the layout is right, you notice it every day. You can walk from the front door to the balcony without stepping around anything, the dining table gets morning light, and everything has a place behind a door. The condo is the same size as on the day you got the keys, but now you can use all of it.