 rumaruma
Shoe Cabinet Depth: Why Deeper Isn’t Better (And the Right Size for Malaysian Homes)
A shoe cabinet built 400–500mm deep looks like extra storage — until you’re kneeling at the door every morning to fish your shoes out.
On this page
- The Problem: A Shoe Is Only About 300mm Long
- Why a Deep Bottom Gap Doesn’t Work
- What Shoe Cabinet Depth Should You Build?
- Getting the Bottom Gap Height Right Too
- Already Built a 400–500mm Deep Cabinet? Here’s How to Fix It
- Ventilation: Don’t Forget Malaysia’s Humidity
- What a Built-In Shoe Cabinet Costs in Malaysia
- For Carpenters and Renovators: Specify Depth on the Drawing
- Before You Sign Off on Your Carpentry Drawings
You come home, slip off your shoes, and nudge them into the open gap under your shoe cabinet with your foot. Neat, off the floor, ready for tomorrow. It’s one of the nicest little rituals of a well-planned Malaysian home.
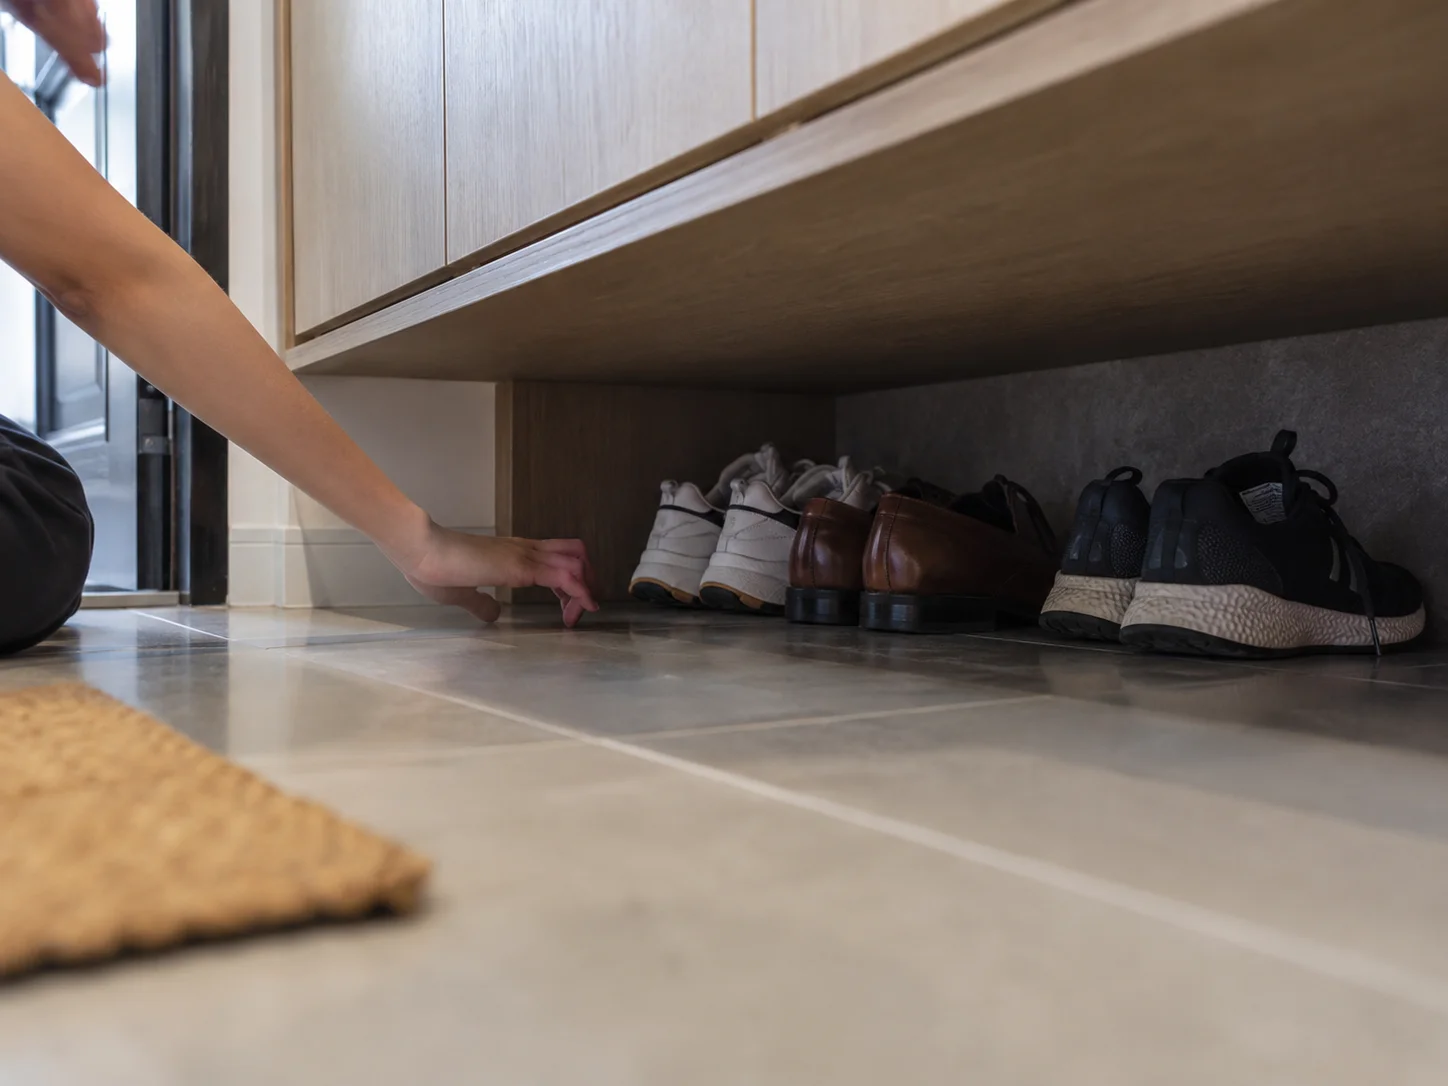
Then the next morning, you’re late — and your shoes are nowhere near the front. They’ve slid all the way to the back. You try to hook them out with your toe. It doesn’t work. So you bend down, or worse, kneel on the floor in your work clothes and reach in.
That’s what happens when the shoe cabinet depth is wrong. And it’s one of the most common built-in carpentry regrets we hear from homeowners, because it looks perfectly fine on the 3D render.
The Problem: A Shoe Is Only About 300mm Long
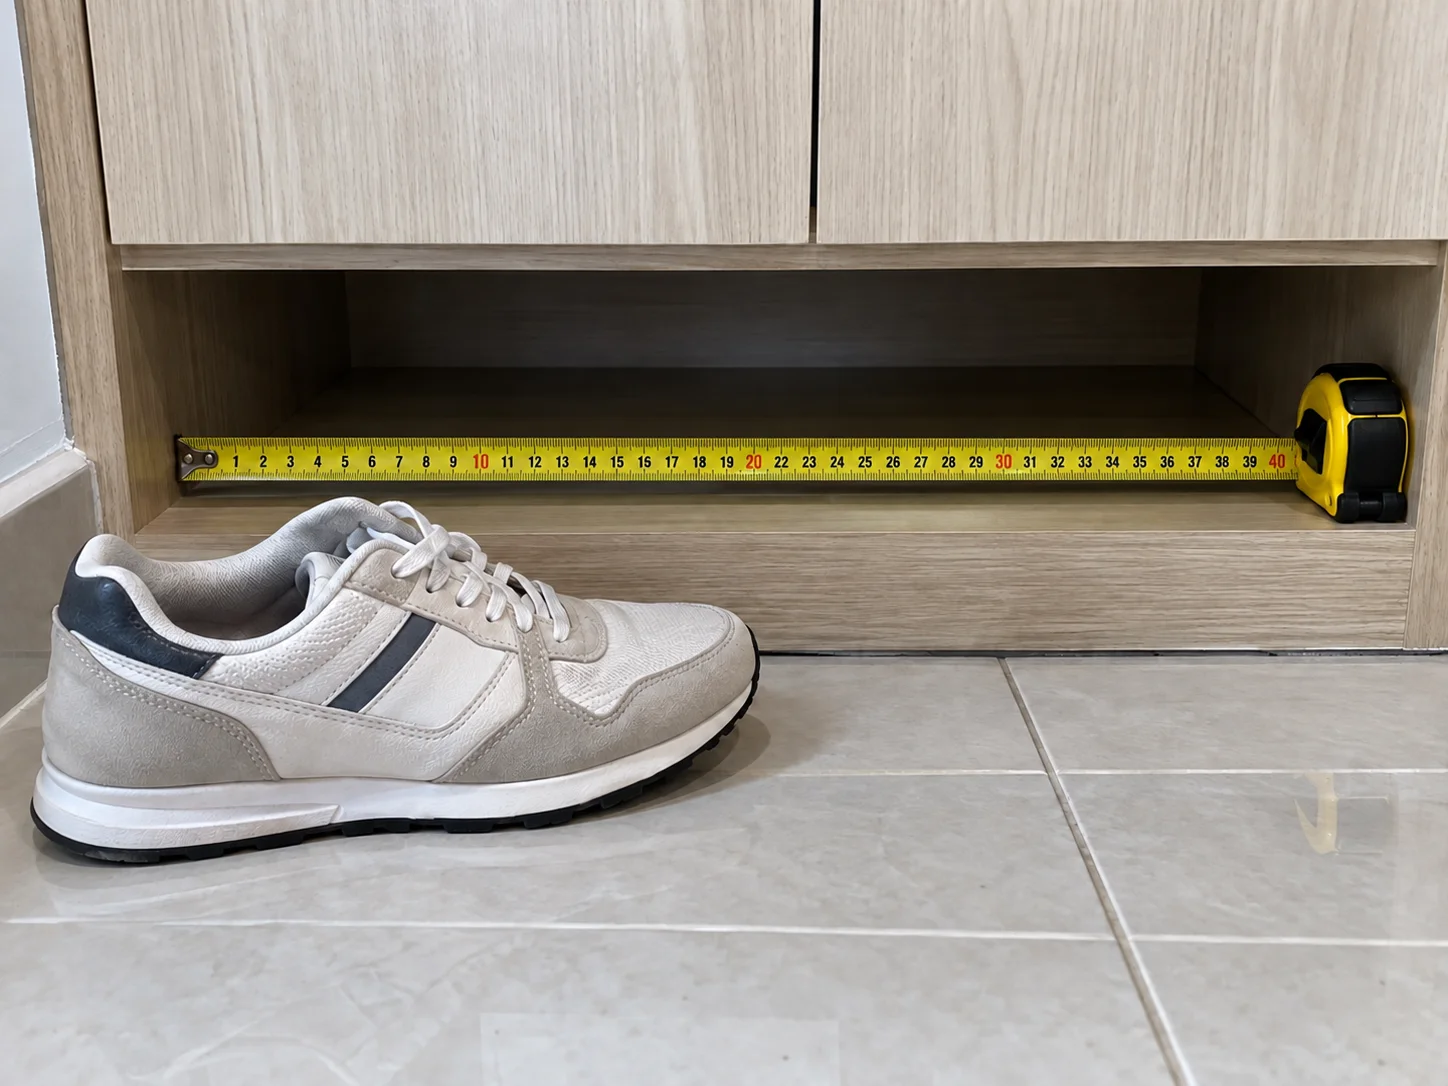
Start with the shoe, not the cabinet.
| Shoe type | Typical length |
|---|---|
| Women’s flats, heels, sneakers | 230–270mm |
| Men’s sneakers and leather shoes (UK 7–10) | 270–310mm |
| Men’s large sizes, chunky running shoes | 310–330mm |
| Slippers and sandals | 240–300mm |
Almost every pair in a Malaysian household fits within 300–330mm. Now look at what many carpenters and IDs build by default: a shoe cabinet 400–500mm deep — or worse, 500mm and above, often because it’s matched to the wardrobe carcass or made flush with a column beside the door.
On a closed shelf, that extra depth is just wasted space. In the open gap at the bottom of a floating cabinet — the spot you use every single day — it becomes a daily annoyance.
Why a Deep Bottom Gap Doesn’t Work
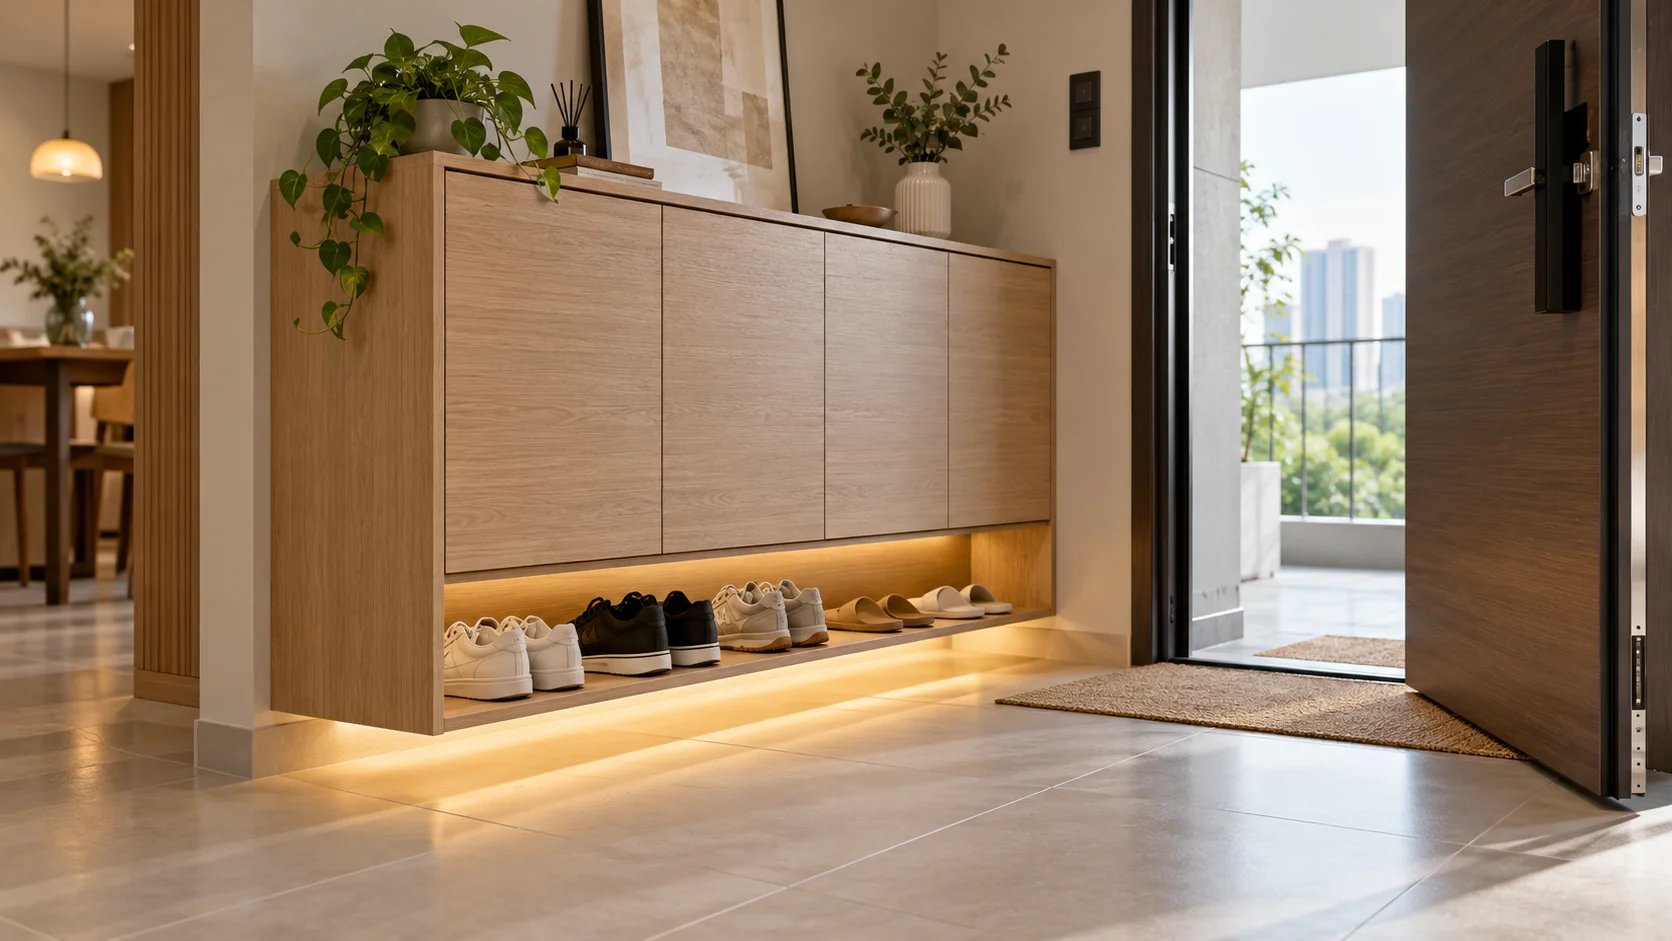
A floating shoe cabinet usually has an open recess of about 150–250mm between the floor and the first shelf. It’s designed for the shoes you wear daily, so you don’t have to open a door every time you come home.
Here’s what goes wrong when that recess is 400–500mm deep:
- Shoes travel to the back. You push them in with your foot, and with nothing to stop them, they slide right to the back panel — 150–200mm further than you can reach with your toe.
- You can’t hook them out. Pulling a shoe out with your foot only works when the heel sits near the front edge. Past that, you’re fishing around blind under a 200mm-high gap.
- You end up kneeling. The only reliable way to get them out is to squat, bend or kneel on the floor. Fine once. Annoying twice a day, every day, for the next 15 years.
- Pairs get separated and forgotten. Deep recesses collect strays — one slipper at the back, a child’s shoe nobody’s seen in months, sand and dust you can’t sweep out easily.
It’s worse for anyone with knee or back problems, elderly parents living with you, or kids putting their own shoes on before school.
What Shoe Cabinet Depth Should You Build?
For most Malaysian homes, the right shoe cabinet depth is 300–350mm. That fits men’s shoes comfortably, leaves a little breathing room for air to move, and keeps every pair within easy reach.
| Cabinet type | Recommended depth | Notes |
|---|---|---|
| Built-in shoe cabinet with flat shelves | 300–350mm | The sweet spot for most households |
| Floating cabinet — bottom open gap | 300–350mm | Keep the gap shallow even if the cabinet above is deeper |
| Tilt-out / flip-down shoe cabinet | 170–250mm | Shoes stand at an angle, so it can be much slimmer |
| Shoe cabinet that also stores helmets, umbrellas, vacuum | 400–450mm | Only if those items genuinely need a home here |
| 500mm and above | Avoid for shoes | That’s wardrobe depth — it belongs in a bedroom |
If your foyer is tight — common in condos where the main door opens straight into the living area — a shallower cabinet also gives you back walking space. Every 100mm you don’t use for depth is 100mm more clearance when you’re carrying groceries through the door.
For flip-down designs, IKEA’s tilt-out shoe cabinets are a useful reference point: many are under 250mm deep and still hold 8–12 pairs.
Getting the Bottom Gap Height Right Too
Depth gets the most complaints, but the height of the open gap matters as well.
- 150mm: Enough for slippers, sandals and flats only. Most sneakers won’t slide in cleanly.
- 200–250mm: The practical range for sneakers, leather shoes and everyday wear. This is what we’d recommend for most families.
- 300mm and above: Only if you regularly park ankle boots or rain boots here. Any taller and the gap starts to look like a missing shelf.
Measure the tallest pair you wear daily, then add about 50mm so you’re not scraping the underside of the cabinet every time.
Already Built a 400–500mm Deep Cabinet? Here’s How to Fix It
If your cabinet is already installed, you don’t need to rip it out. A carpenter can fix most of these in half a day.
1. Add a stopper or false back panel in the recess
Ask your carpenter to fix a back panel or a simple timber stopper inside the open gap, about 300mm from the front edge. Shoes stop where you can reach them. The space behind can still be accessed from a removable panel for off-season items.
Expect to pay roughly RM150–RM400 depending on the cabinet width and whether the panel needs to match your laminate.
2. Install a pull-out tray
A shallow pull-out tray on soft-close runners turns the deep recess into a drawer you can slide toward you. It also makes it easy to sweep out sand and dust. Budget around RM250–RM600 depending on width and runner quality.
3. Put a shoe tray or mat in the gap
The cheapest fix: a rigid shoe tray or rubber boot mat, sized to the opening, that you pull out by its edge. Mr. DIY and IKEA both sell trays for under RM50. It won’t look as clean as a built-in fix, but it solves the kneeling problem tonight.
4. Use the extra depth for something else
If you’re redoing the cabinet anyway, split the depth. Use the front 300mm for shoes and turn the back section into side-access storage for an umbrella, a foldable trolley, or a cordless vacuum.
Ventilation: Don’t Forget Malaysia’s Humidity
A shoe cabinet in Malaysia is a small, dark, enclosed box near the front door — exactly where mould likes to grow, especially during the monsoon season.
A sensible depth helps here too. Shoes that sit in a shallow cabinet get more airflow than shoes pushed deep into a back corner. On top of that:
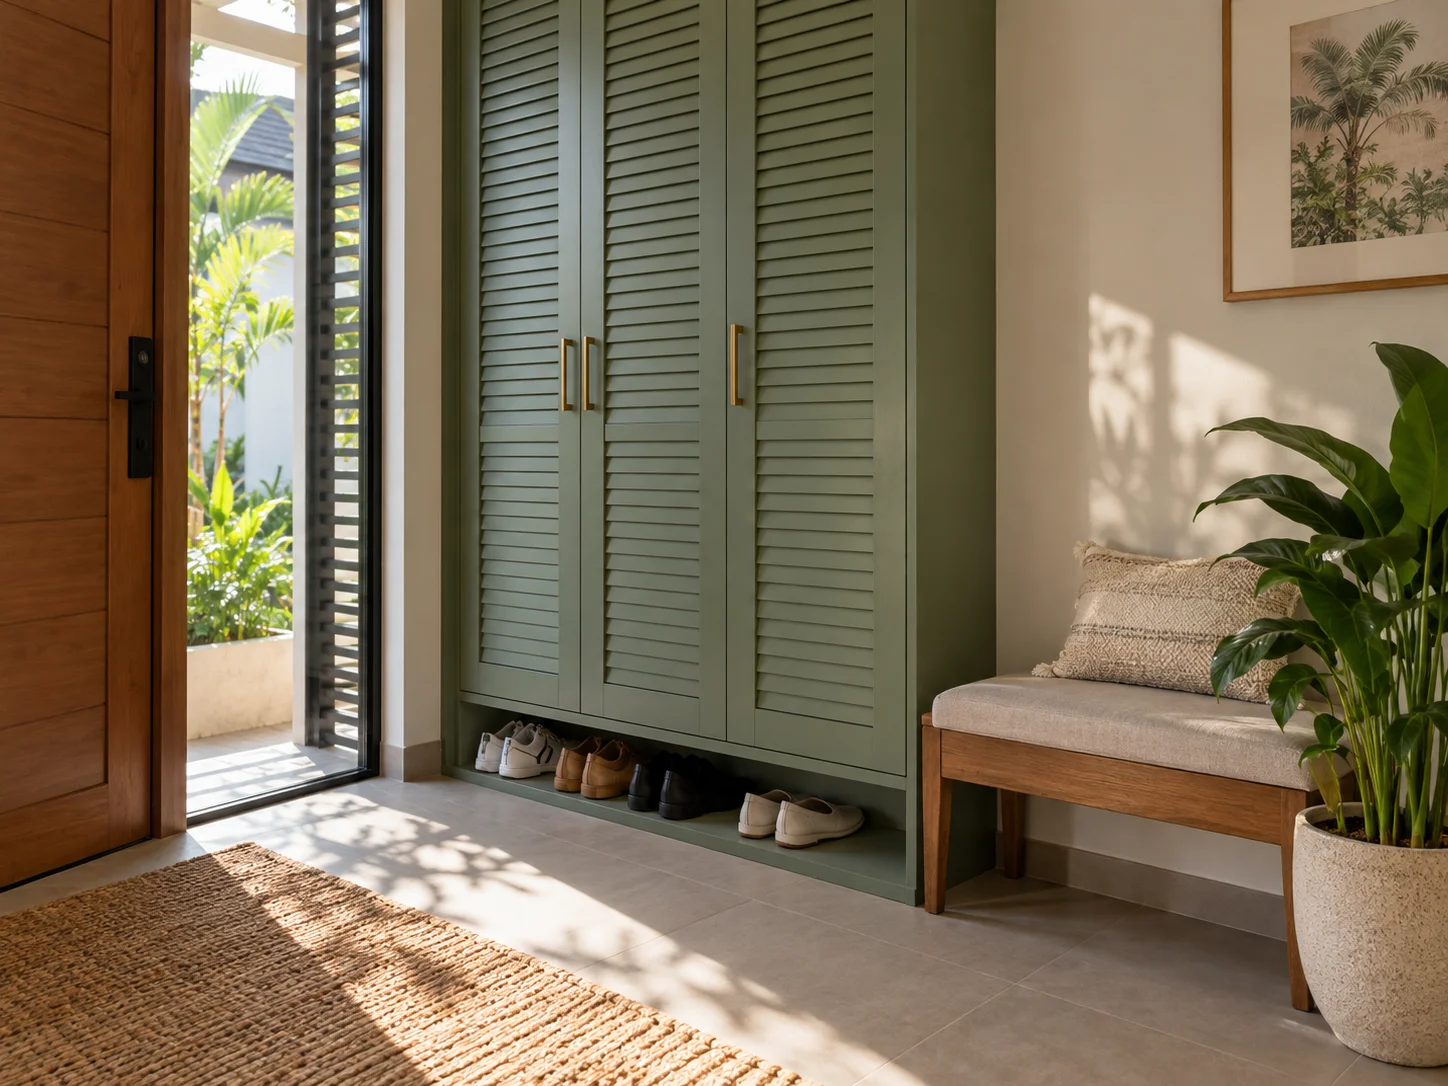
- Add ventilation. Louvred doors, a slotted back panel, or a row of ventilation holes along the top and bottom.
- Keep the open gap. The floating design isn’t just for convenience. It lets damp shoes air out before they go inside a closed door.
- Use moisture absorbers. Disposable dehumidifier boxes from Mr. DIY or your neighbourhood hardware shop cost a few ringgit and are worth replacing monthly during rainy months.
- Pick humidity-resistant materials. Moisture-resistant plywood or MR board with laminate holds up better than standard particleboard, which can swell at the base where wet shoes sit.
What a Built-In Shoe Cabinet Costs in Malaysia
Built-in shoe cabinets are usually quoted per foot run, like most carpentry in Malaysia. Rough 2026 ranges for a full-height unit in the Klang Valley:
| Finish | Approx. price per foot run |
|---|---|
| Melamine / basic laminate on particleboard | RM300–RM450 |
| Laminate on plywood or MR board | RM400–RM650 |
| Spray-painted, fluted or premium finishes | RM650–RM1,000+ |
A shallower cabinet doesn’t always cost less, because many carpenters price by length rather than depth. But it does use less board, and some will adjust the rate if you ask. For more on how carpentry fits into your overall budget, see our home renovation cost guide for Malaysia.
For Carpenters and Renovators: Specify Depth on the Drawing
If you build shoe cabinets for clients, a few habits prevent this complaint entirely:
- Don’t reuse the wardrobe carcass depth. A 550–600mm wardrobe section is for hanging clothes, not shoes.
- Write the recess depth separately on the drawing. The open gap and the closed cabinet above don’t have to be the same depth. A false back in the recess at 300mm costs very little at the build stage.
- Ask what’s actually going in. Helmets, umbrellas, a stroller or a vacuum all change the brief. Shoes alone almost never need more than 350mm.
- Show the client a real shoe against the drawing. Most homeowners have never thought about the depth of a shoe cabinet in millimetres. A quick demonstration avoids a handover-day complaint.
Before You Sign Off on Your Carpentry Drawings
Before you approve your shoe cabinet design, check three things on the drawing:
- Overall depth is 300–350mm (or 170–250mm for tilt-out designs)
- The open bottom gap is 200–250mm high and no deeper than 350mm, or has a stopper
- There is ventilation — louvres, holes or a slotted back
These details are easy to miss when you’re reviewing a full set of carpentry drawings. It’s the kind of small decision that shows up in our list of renovation mistakes Malaysians make. If storage is a priority for your home, our Muji-style minimalism guide for small condos has more ideas on planning storage around how you actually live. First time renovating? Start with our first-time homeowner guide.
A shoe cabinet is something you use twice a day, every day. Getting the depth right means grabbing your shoes on the way out the door, instead of kneeling at the doorway to find them.