 rumaruma
Key Collection Checklist Malaysia: Documents, Utilities and JMB Steps for New Homeowners
Just got your keys? Here are the documents, utility accounts, JMB steps and measurements to sort out in the first two weeks, before any renovation starts.
On this page
- Why the First Two Weeks After Key Collection Matter
- Step 1: What to Bring and Collect on Key Collection Day
- Step 2: Check the Unit Against Your S&P Agreement
- Step 3: Record Meter Readings and Open Your Utility Accounts
- Step 4: Register With Your JMB or MC Before Any Work Starts
- Step 5: Measure, Photograph and Film the Empty Unit
- Step 6: Log Defects Before the Contractor Arrives
- Step 7: Sort Out Insurance, Locks and Recurring Bills
- For Renovators: Starting Work on a Newly Handed-Over Unit
- Key Collection Checklist Malaysia: The First 14 Days at a Glance
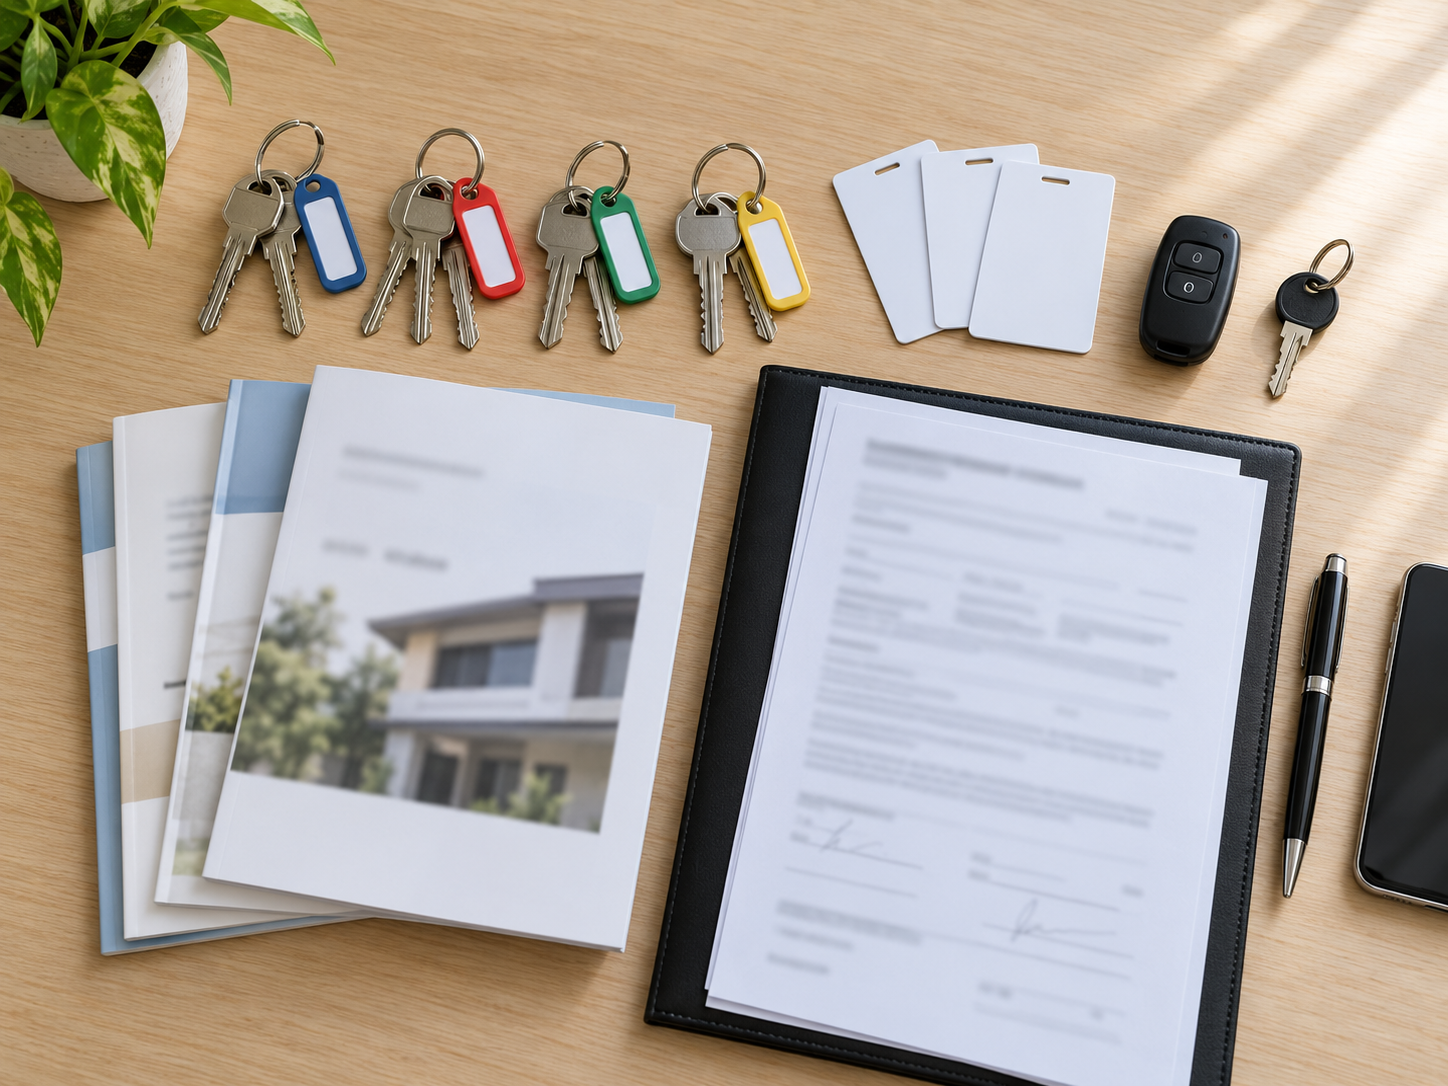
You’re standing in the developer’s handover office with a zip-lock bag of keys, three access cards and a folder thicker than your sale and purchase agreement (S&P). Your interior designer has already WhatsApped asking when they can come and measure. Everyone wants to start the renovation, and nobody has told you what has to happen first. This key collection checklist for Malaysia covers the paperwork, utility accounts, management office steps and measurements to sort out in your first two weeks.
Use the first two weeks as a planning target. Utility connections, renovation approvals and developer repairs may take longer, so your start date should depend on what is ready. Most of these checks are much harder to do once the hacking has started.

Why the First Two Weeks After Key Collection Matter
Three clocks start on the day you receive vacant possession (VP). The first is the developer’s defect liability period (DLP): 24 months under the Housing Development Act for most new homes. The second is your renovation timeline, because the contractor needs power, water and building approval before they can start. The third is your loan: once the home is complete, you’re paying full instalments, so every week the unit sits unusable costs you money.
This is also the only time you’ll see the unit exactly as the developer built it. Once the contractor starts work, it gets much harder to show that a crack, a leak or a missing fitting was already there.
Step 1: What to Bring and Collect on Key Collection Day
Your developer will send a VP notice listing what to bring, but it usually includes:
- Your IC (and your co-owner’s, or a signed authorisation letter if they can’t come)
- Your S&P agreement, or at least the specification schedule and floor plan pages
- Proof that you’ve paid in full, such as the final bank release or a letter from your lawyer
- Payment for the advance charges, usually a few months of service charge and sinking fund for condos, plus any utility deposits the developer collects on the operators’ behalf
Before you leave the office, check that you have everything in this table. Count the keys and cards there and then. It’s much harder to ask for a missing access card three weeks later.
| What you collect | Why it matters later |
|---|---|
| VP letter or handover form, signed and dated | The date starts your DLP and decides whether you can claim compensation for late delivery |
| Copy of the Certificate of Completion and Compliance (CCC) | Confirms the building is legally fit to occupy |
| Keys for every door, counted and labelled | You’ll give a set to your contractor; you need to know how many exist |
| Access cards, car park remote or sticker, letterbox key | The management office charges for replacements and will ask your contractor for them |
| Warranty cards and manuals for supplied fittings | Water heater, hob, digital lock and sanitaryware warranties often start from VP, not from your move-in date |
| Defect complaint form and the developer’s defect procedure | You’ll need these for every defect claim in the next 24 months |
| House rules and renovation guidelines (condos) | These decide your contractor’s hours, deposit and what you’re allowed to change |
| Meter readings recorded on the handover form | Proves which electricity and water usage is yours |
Step 2: Check the Unit Against Your S&P Agreement
Before you think about design, check the developer delivered what you paid for. Open your S&P and walk through the unit with it in hand.
- Layout matches the floor plan in the S&P: room count, door positions, window positions
- Every fitting in the specification schedule is installed, and is the brand or grade listed (a “Grade A ceramic tile” swapped for a cheaper one is worth raising now)
- Car park bay number matches your allocation
- Accessory parcels (additional areas assigned to your unit in the S&P, such as a car park bay, yard or air-conditioner ledge) are where they should be
- Built-up area looks right. Measure the big rooms roughly; you’re looking for obvious mismatches, not a 2% difference
Then check the date. Under the standard HDA sale and purchase agreements, the developer owes you liquidated ascertained damages (LAD) if VP comes later than the date in your S&P. LAD is calculated at 10% a year of the purchase price, counted daily. On a RM500,000 condo delivered 90 days late, that works out to roughly RM12,300. Ask your lawyer or the developer how they handle LAD before you sign anything that says you accept the unit “in full satisfaction”.
Step 3: Record Meter Readings and Open Your Utility Accounts
Your contractor can’t do much without electricity and water, and your account usually needs to be in your name before the operator will connect or transfer it. Start this in the first week.
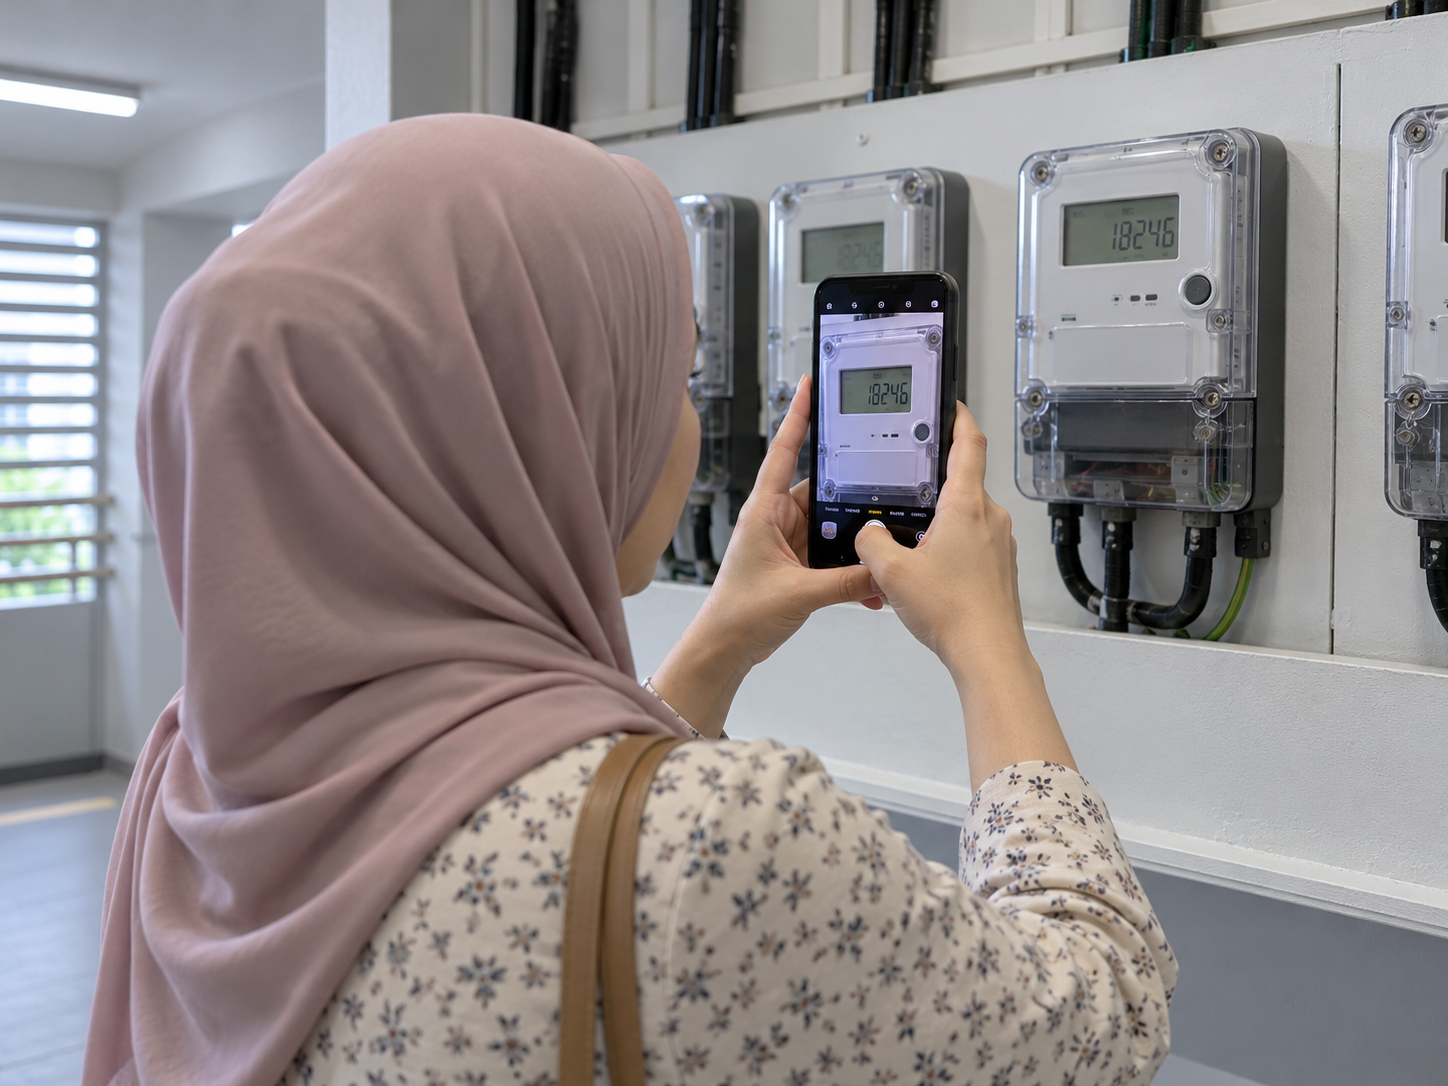
Photograph each meter on day one, with the reading and meter number clearly visible. If the developer’s contractors ran equipment off your supply during final touch-ups, this photo is your proof.
| Utility | Who handles it | What you’ll usually need | Tip |
|---|---|---|---|
| Electricity | TNB (Sarawak Energy or SESB in East Malaysia) | IC, VP letter or S&P, meter number | Apply through the myTNB app. The deposit is based on about two months of your estimated usage |
| Water | Your state operator: Air Selangor, Ranhill SAJ (Johor), PBAPP (Penang), SAINS (Negeri Sembilan) and others | IC, VP letter or S&P, meter reading | Some condos have one bulk meter billed through the management office instead, so ask before you apply |
| Sewerage | Indah Water Konsortium in most of Peninsular Malaysia | Account update with your details | Usually just a change of name, but do it so the bills come to you and not the developer |
| Piped gas | Gas Malaysia, where your building has it | IC, VP letter | Only applies if your kitchen has a gas meter point |
| Internet | Fibre providers wired to your building | IC, address | Check which providers serve the building now. Where the fibre point sits affects where your TV console and study desk can go |
That last row catches a lot of people. If the fibre termination point is in the living room and your study is at the far end of the unit, you’ll want your electrician to run a data cable before the carpenter closes up the walls, not after.
Step 4: Register With Your JMB or MC Before Any Work Starts
If you’ve bought a condo or apartment, the management office is your next stop. Depending on how old the project is, it’ll be run by the developer during the first year or so, then by a Joint Management Body (JMB), and later by a Management Corporation (MC) once strata titles are issued. These stages are set out in the Strata Management Act 2013, but your process is the same at every stage: register as the owner, then apply for renovation approval.
What you’ll pay and submit usually includes:
- Service charge and sinking fund, billed monthly or quarterly. The sinking fund is set at 10% of the service charge
- A renovation application form with a description of works, simple layout drawings and your contractor’s company details
- Worker registration: names and IC or passport copies so workers can get passes
- A refundable renovation deposit, usually RM500–RM5,000 depending on the building and the scope of work
- Non-refundable fees, such as a debris disposal or lift protection charge
Ask for the renovation rules in writing before you collect quotations. Working hours (often 9am to 5pm on weekdays, with Saturdays limited or excluded), bans on hacking certain walls, rules on window grilles and air-conditioner positions, and whether wet works (such as tiling or bathroom alterations) need extra waterproofing approval all affect how long the job takes and what it costs. If your contractor quotes without them, expect variation orders (changes to the agreed work that can add cost or time) later. Our guide to hidden renovation costs in Malaysia lists the fees most budgets miss.
Landed homes: you’ll usually skip the JMB, but structural changes, extensions and new roofing need a permit from your local council (PBT, such as DBKL or MBPJ). In a gated-and-guarded community, the residents’ association or management may also want a deposit and contractor registration. Our comparison of condo vs landed renovation rules sets out what each type of home needs.

Step 5: Measure, Photograph and Film the Empty Unit
An empty unit is the easiest version of your home to measure, and you’ll only have it once. Spend an hour here and your designer can quote faster, your contractor has fewer surprises and you have a record of the unit as handed over.
- Walk through the whole unit filming slowly, saying out loud which room you’re in
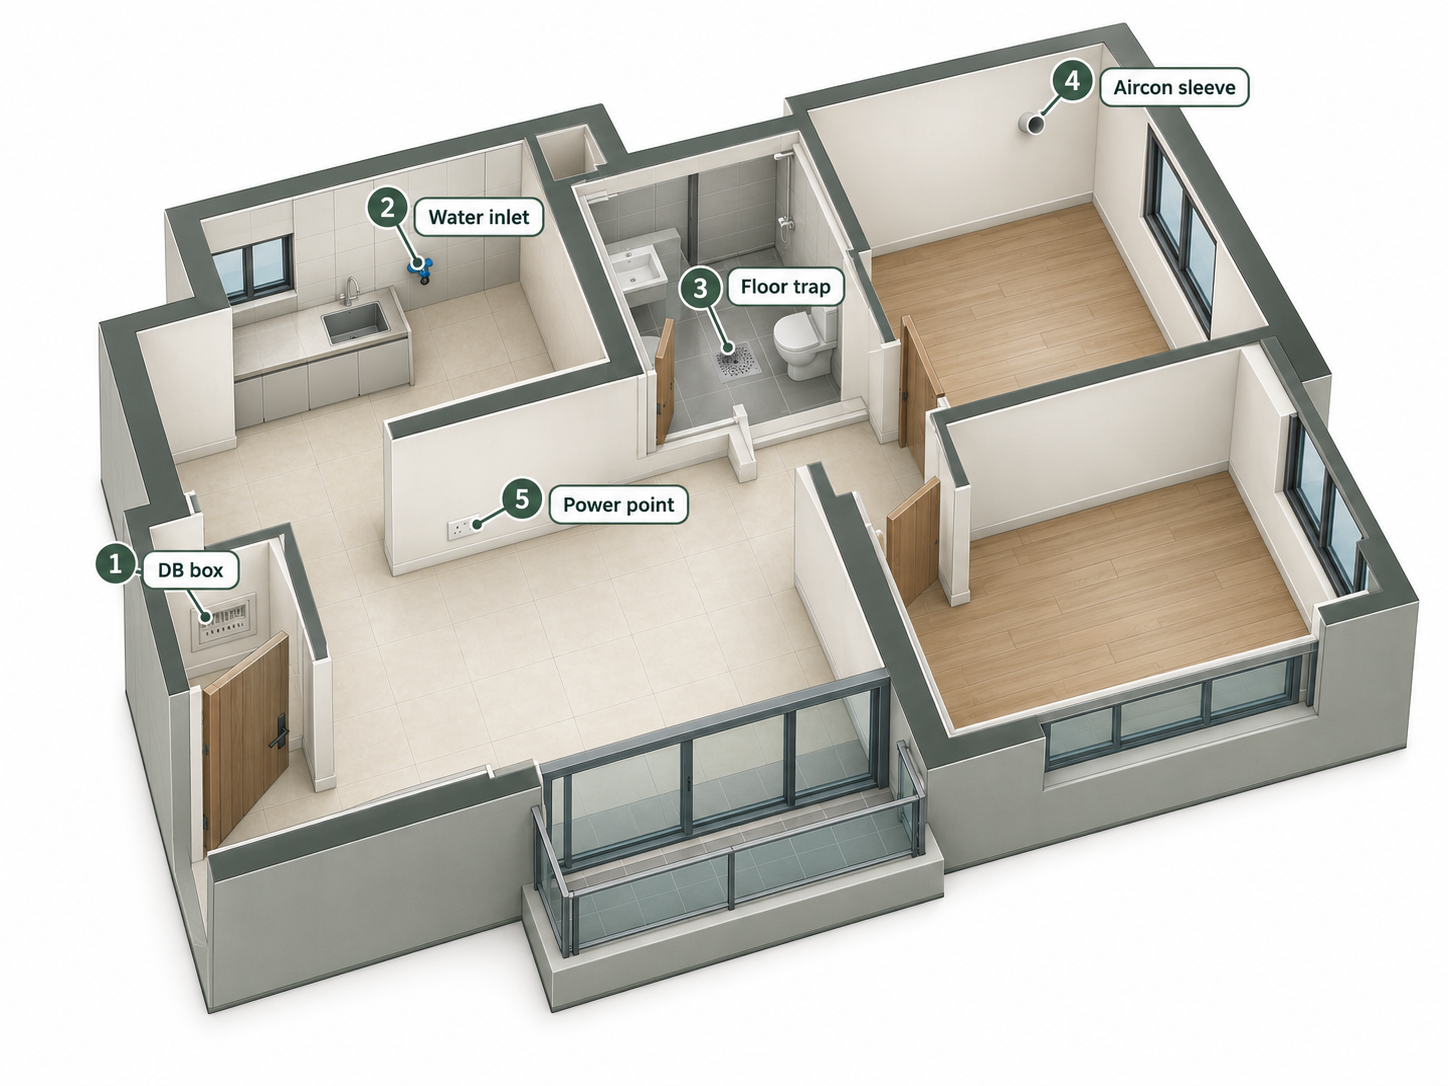
- Photograph each wall straight on, including every power point, switch and light point
- Photograph the distribution board (DB box), water inlet, floor traps, air-conditioner pipe sleeves and the water heater point
- Measure ceiling height, beam depths, window sill heights and door widths
- Note any columns that stick out into rooms, since built-in carpentry has to work around them
- Ask the developer for the as-built layout plan and, if available, the electrical and plumbing drawings
Keep everything in one shared folder with your co-owner and later your designer. Our guide on how long a full home renovation takes in Malaysia shows where measuring and design sit in the overall schedule.
Step 6: Log Defects Before the Contractor Arrives
Do a defect inspection and submit your list to the developer before any renovation work touches the surfaces. Under the Housing Development Act, the developer must repair defects reported during the DLP within 30 days of receiving your written notice. Once your contractor has hacked, tiled over or painted a defective area, the developer can argue that the renovation caused the problem.
Submit the list on the developer’s official form, keep a copy with their acknowledgement stamp or a dated email reply, and photograph each item. Don’t let your contractor fix developer defects “since they’re already there”. You’ll lose the right to claim, and you’ll be paying for work the developer owes you.
A thorough defect inspection is a job of its own, covering walls, tiles, windows, doors, plumbing and electrical points room by room. The first-time homeowner’s guide to renovating in Malaysia explains how the DLP fits into your wider renovation plan.
Step 7: Sort Out Insurance, Locks and Recurring Bills
These won’t hold up your renovation, but they’re easy to forget once it starts.
- Insurance. In a strata building, the JMB or MC insures the building structure, and the premium is part of your service charge. That policy doesn’t cover your renovation, furniture or belongings, so arrange contents cover before expensive carpentry and appliances arrive. For landed homes, your bank will usually require fire insurance on the building as a condition of your loan.
- Locks. The developer’s contractors and cleaners may have held keys during final touch-ups. Plan to change the main door lock cylinder or install a digital lock, but time it well. Give your contractor a separate key or a temporary code, then change it again when they hand over.
- Assessment tax and quit rent. Assessment tax (cukai taksiran) comes from your local council and quit rent (cukai tanah) from the state land office. For strata units without individual titles yet, these may be billed through the developer or management office at first. Ask who sends the bill so you don’t miss the first one.
- Contractor insurance. When you appoint a contractor, ask whether they carry public liability or contractor’s all-risk cover. If a worker floods your neighbour’s ceiling, you’ll want someone other than you to be liable.
For Renovators: Starting Work on a Newly Handed-Over Unit
If you’re the contractor or designer on a fresh-VP unit, a few checks protect you as much as the owner:
- Confirm the defect list is in. Ask the owner whether they’ve submitted a defect list to the developer. If they haven’t, advise them to do it before you start. Otherwise any existing defect you work around can end up blamed on you.
- Get your own record. Photograph the unit, the corridor and the lift lobby before your first delivery. The JMB deposit is the owner’s money, but disputes over damaged common areas land on you.
- Read the renovation rules before quoting. Allowed hours, hacking restrictions and debris rules change your programme and labour cost. Quote to them.
- Check the supply. Some new buildings take weeks to energise individual meters. Confirm the power and water are live before you schedule your mechanical and electrical (M&E) team, who handle services such as electrical wiring and air-conditioning.
Key Collection Checklist Malaysia: The First 14 Days at a Glance
Print this or copy it into your phone notes. Aim to get these tasks underway in the first 14 days; approvals and repairs may continue beyond that.
Key collection day
- Bring IC, S&P, proof of full payment and payment for advance charges
- Count keys, access cards, car park remote and letterbox key before signing
- Collect the VP letter, CCC copy, warranty cards, defect form and house rules
- Record and photograph electricity and water meter readings
Week 1
- Check the unit against your S&P layout and specification schedule
- Compare the VP date with your S&P date and ask about LAD if it was late
- Open or transfer your TNB, water, sewerage and gas accounts
- Check which fibre providers serve your building
- Register with the management office and pay service charge and sinking fund
- Get the renovation rules in writing
Week 2
- Film, photograph and measure the empty unit
- Inspect for defects and submit the list on the developer’s form
- Arrange contents insurance (or fire insurance for landed homes)
- Share your folder of photos, measurements and rules with your designer or contractor
- Submit the renovation application and pay the deposit once your contractor is confirmed
Before Renovation Starts
Submitting a renovation application or defect list is only the start of that process. Before you agree on a start date with your contractor:
- Obtain the required renovation approvals from building management and, where applicable, the local council
- Confirm electricity and water are connected and working
- Check the status of each reported defect with the developer and keep a written record of completed repairs and outstanding items
- For outstanding defects, agree with the developer and contractor how repairs, access and renovation work will be coordinated before allowing work in affected areas. Keep those areas untouched until the repair arrangements are clear
Use our renovation timeline template to plan the work around these checkpoints and any outstanding approvals or repairs.
Most renovation problems in a new home start in these first two weeks: a defect nobody reported, a JMB rule nobody read, a fibre point in the wrong room. Complete the checks and confirm the required approvals and repair arrangements, and your renovation starts from a clear, documented point.